Downloading images to a computer (EOS REBEL T6i / EOS 750D)
FAQ ID: 8202595700
Release date: 06 March 2015
Solution
Preparing to download images to the computer (software installation)
You can use the any of the software on the "EOS DIGITAL Solution Disk (CD-ROM)" that came with your camera to import images you have taken to your computer.See the 'Related information' section at the end of the page for more information on the features of individual software applications.
IMPORTANT
- Never connect the camera to your computer before you install the software. The software will not be installed correctly. Also, make sure to check the software system requirements against the specifications of your computer.
- If an older version of the software is installed, please follow the procedure below to update to the latest version. (The installation will overwrite the previous installation).
1. Turn the computer on.
2. Insert the EOS DIGITAL Solution Disk (CD-ROM) into the computer.
If the following window appears, click [Run SETUP.EXE].
If you are using a Macintosh computer, double-click the CD-ROM icon on the desktop, and then double-click [Canon EOS Digital Installer].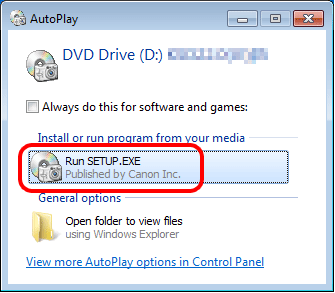
3. Select the area in which you live.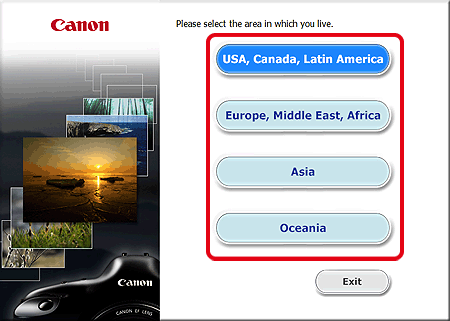
4. Select the country where you live, and then click [Next].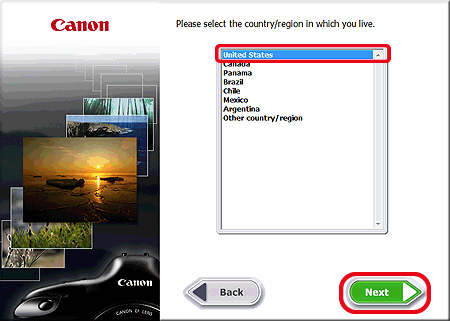
5. If a language setting screen appears, select the desired language from the options displayed.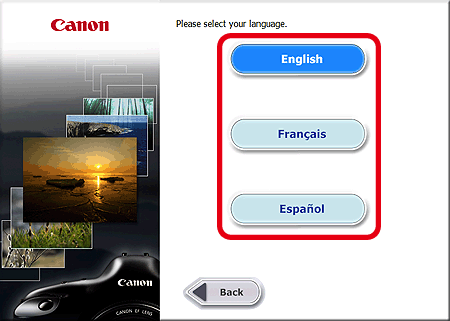
6. Click [Easy Installation] (to install all applications included on the Solution Disk).
For a Macintosh computer, click [Install].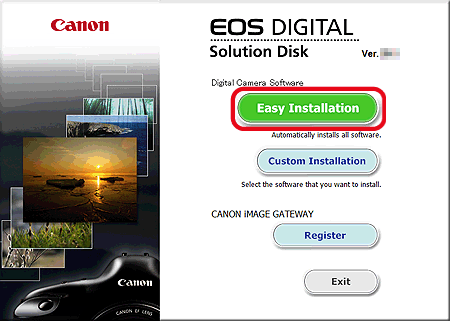
NOTE
To select the software you want to install, click [Custom Install]. For details, see 'Installing only the necessary software' in Installing the Software from the EOS DIGITAL Solution Disk (Included on the CD-ROM / Downloadable from the Canon Homepage).
7. Close any other applications, and then click [OK].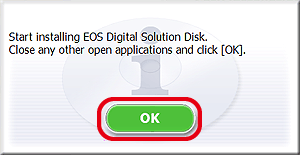
8. Click [Install].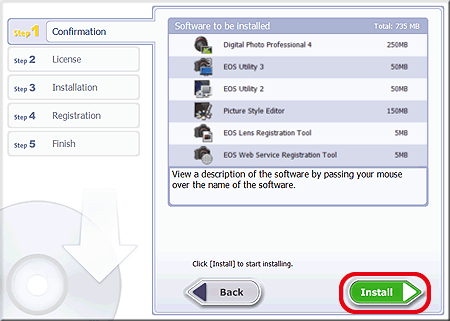
9. Click [Yes] to accept the License Agreement.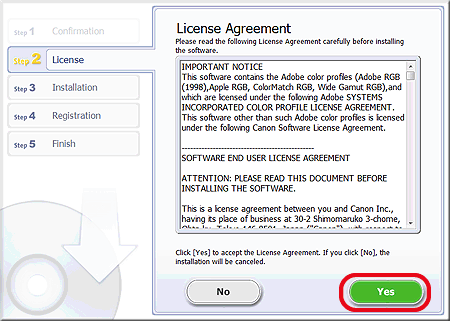
IMPORTANT
- On some models, the [User Account Control] screen may be displayed. In this case, please click [Yes].
- Installation of Microsoft .NET Framework 4.5 is required to run the software in Windows 7. If Microsoft .NET Framework 4.5 is not installed on your computer, please read the license agreement and if you agree to the terms, click [Yes] to install Microsoft .NET Framework 4.5.

10. The following window appears, and installation begins.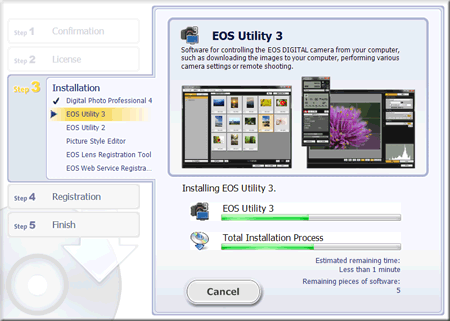
11. Click [Next].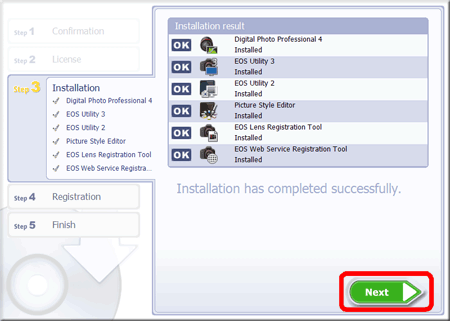
12. The following screen appears.
In this example [No, I will register later] has been selected, and [Next] has been clicked.
(To register in CANON iMAGE GATEWAY, select [Yes, I would] and complete the registration procedure. 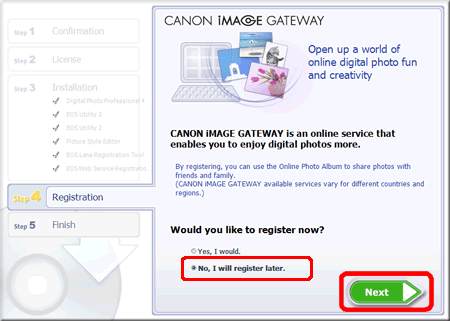
13. Click [OK].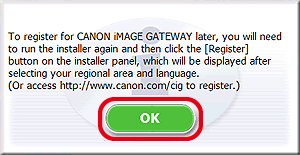
14. Click [Finish].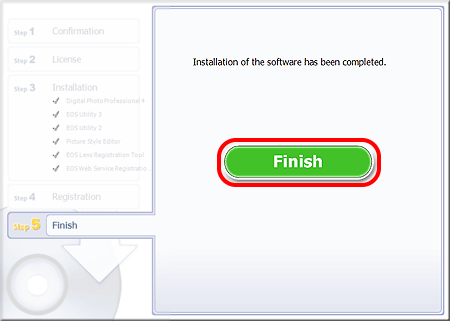
If a message appears prompting you to restart the computer, click [Restart]. If you installed the software from a CD-ROM, please remove the CD after the computer restarts.
NOTE
If installation of the software is not possible, please refer to Software included on EOS DIGITAL Solution Disk (CD-ROM) cannot be installed.
Connect the camera and the computer
1. Confirm that the camera is not connected to the computer, and then set the camera's power to [ON].
2. Press the [MENU] button to display the menu screen.
3. Change the camera's Auto power off settings.
3-1. Press the [  ], [
], [  ] keys to select the [
  ] tab.
3-2. Press the [  ], [
], [  ] keys to select [Auto power off], then press [
  ].
].
3-3. Press the [  ], [
], [  ] keys to select [Disable], then press [
  ].
].
For more information on the Auto power off feature, please refer to the camera’s instruction manual.
4. Press the [MENU] button to turn off the display on the LCD monitor, and then set the camera's power to [OFF].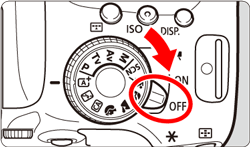
5. Plug the supplied interface cable into the USB port on your computer.
- The location of the USB port may differ depending on the computer you use. For more information, please refer to the computer’s instruction manual.

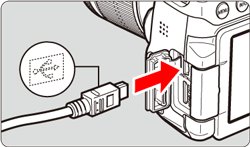
6. Connect the cable to the camera’s [DIGITAL] terminal with the cable plug’s [  ] icon facing the front of the camera.
NOTE
If no connection is recognized between the camera and computer even when they are connected as described in the procedure above, please refer to The camera cannot be connected with a computer (The computer does not recognize the camera) (EOS REBEL T6i / EOS 750D).
Downloading images to the computer
1. Set the camera's power switch to [ON].
2. EOS Utility Ver. 3.x starts.
If EOS Utility does not start automatically, click [Start] -> [All Programs] -> [Canon Utilities] -> [EOS Utility] -> [EOS Utility].
NOTE
- Windows 8: Right-click on the [Start] screen and click on [All apps] displayed at the bottom right of the screen to display the [Apps] screen. Then, click [EOS Utility].
- Windows 8.1: Click [↓]on the bottom left side of the [Start] screen to display the [Apps] screen, and then click [EOS Utility].
- Mac OS X: Click the [EOS Utility] icon on the Dock.
IMPORTANT
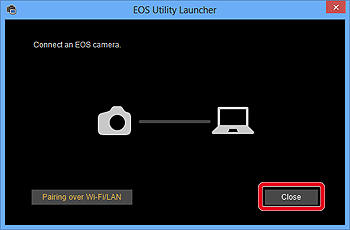
If you start EOS Utility before connecting the camera to the computer, the [EOS Utility Launcher] screen (shown in the example image below) will be displayed. In this case, please click [Close], and connect the camera to the computer after the window has closed.
3. When the main window for EOS Utility appears, click [Download images to computer].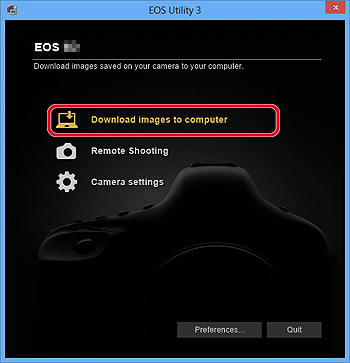
4. To download all images saved to the memory card, click [Start automatic download] in the EOS Utility window.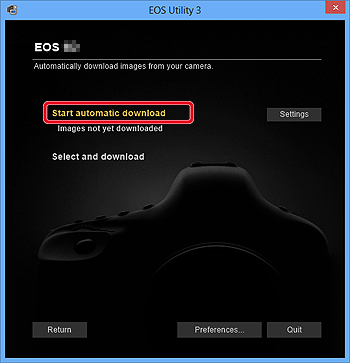
By default, the downloaded images are sorted into folders by their shooting date, and are saved in the [My Pictures] folder on the computer. If you wish to change the destination for the downloaded images, click [Preferences] and specify the settings in the dialog box.
NOTE
You can click [Select and download] to choose the images you want to download. For details, please refer to 'Downloading selected images' in Downloading still images and movies to a computer using (EOS Utility Ver.3.x).
5. The images are downloaded to the computer.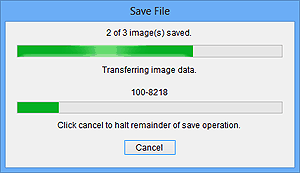
6. When all the images have been downloaded, Digital Photo Professional starts and the downloaded images are displayed.
Confirming the images were downloaded to the computer
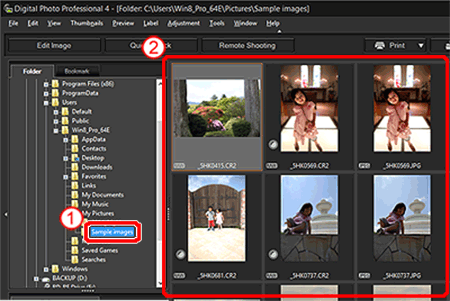
Images downloaded to your computer are displayed as a thumbnails list in the main window.By default, folders are created by shooting date. When you select the folder with the shooting date that you want to confirm (
 ), a list of the images recorded to this folder is displayed (
 ).
).
REFERENCE
- Images displayed with the [
 ] icon are movie files and cannot be played back in Digital Photo Professional.
 - If the message [Insufficient memory.] appears, there are too many images in one folder. Decrease the number of images in one folder such as by dividing them into smaller folders.
You can double-click an image to open the edit window and display the image at large size.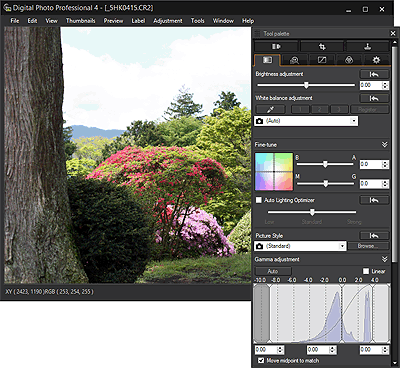
Related information
Applicable Models
- EOS 750D